
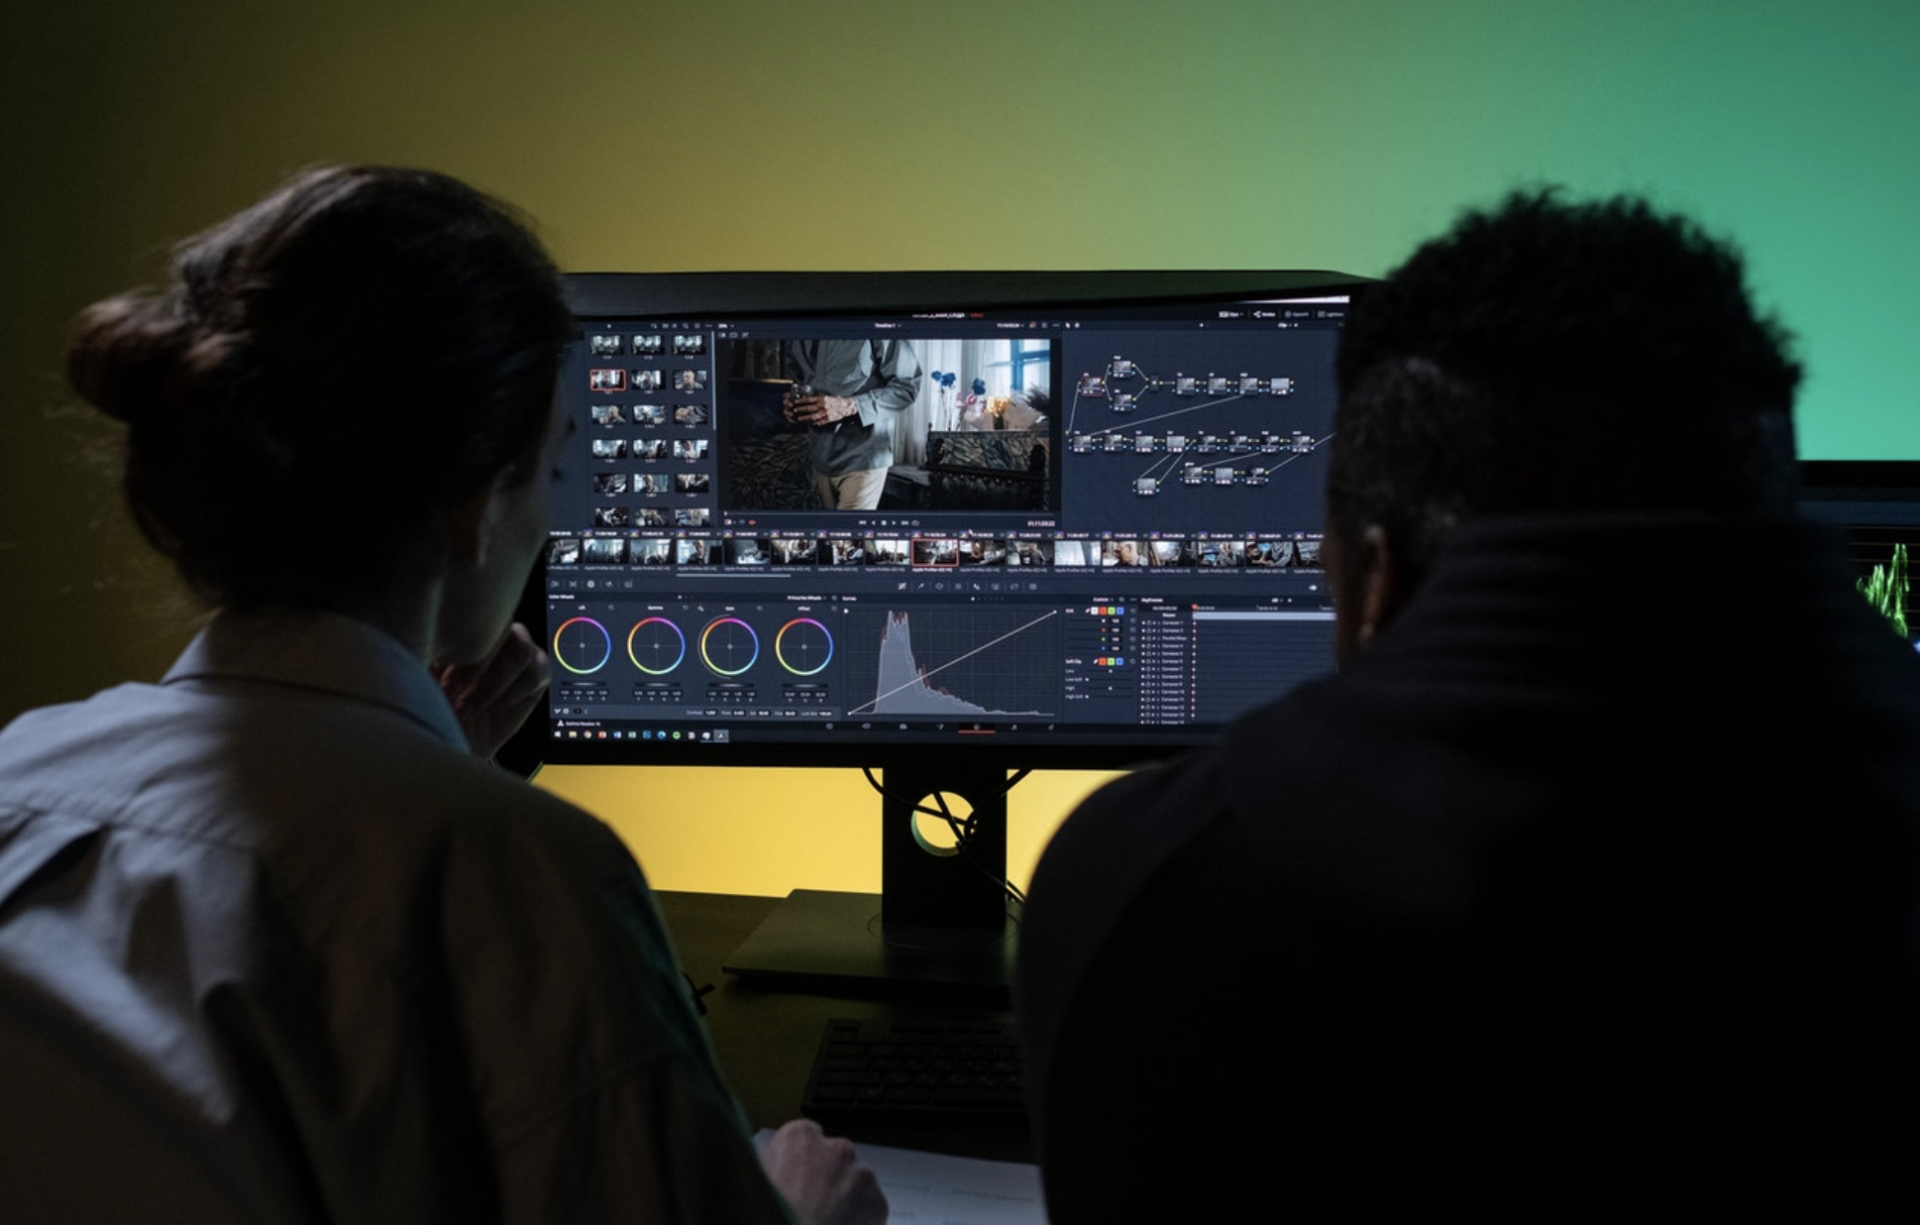
The type of effects you want to use for your film or TV project can make a huge difference on the look and feel of your project. Whether it is overlays, tilts, a vintage look or anything in between, these tips will help you find the perfect effect for any scene! In this article, we’ll cover seven of our favorite effects, and how to use them for your next project.
1. The Overlay Effect – This effect is a great way to add the feeling of depth and dimension to your video. Use this effect to show what’s happening in the foreground, middle ground and background. This can be done by using a dissolve transition between shots or through post production (i.e., green screen).
Tip: make sure you cover up any unwanted items on your set before shooting!
Tip: use gravity effects like smoke, fog or mist to create depth of field without the need for expensive equipment.
2. The Film Grain Effect – Adding this effect will give your video that authentic film look, perfect for any retro-inspired project. You’re probably wondering how you can recreate the film grain effect without your video looking too fake. Well, there are a few ways that you can make it seem more realistic!
One is to use window blinds as they cast shadows; this will help create some depth and dimension for the shot. Another easy way is to add static noise in post production (i.e., using Adobe After Effects).
Tip: try filming at dusk or dawn to achieve an authentic nighttime look with minimal light interference.
3. The Tilt Shift Effect – This effect makes it seem like you’re looking at a miniature scene from above, giving your footage an entirely new perspective.
The Tilt Shift effect was originally created using a special lens that makes distant objects look larger and closer subjects seem far away, giving the images an unreal quality.
To recreate this on your own without having to buy expensive equipment, you can use Adobe After Effects’ Transform filter or Photoshop’s Lens Blur function.
4. The Old TV Effect – Add some vintage charm to your next project with this awesome effect! Think Wanda Vision without the necessity of a superhero.
To create this effect, add a TV filter to your footage in Premiere Pro:
- In the effects panel, choose Video Filters > TV Presets or use these settings:
- Fade Black – 0% (or “Off”)
- TV Flicker Rate – 16 Hz
- TV Grain Amount – 100%
- TV Scan Lines Thickness/Intensity – 20%
- TV Overscan Horizontal % and Vertical % should be set identically: for example 25%. This will determine how much of the original frame is cropped off on either side. A setting of 50%, with no other distortions applied, would result in widescreen video that has been horizontally compressed by half. You can experiment with different values depending on your personal preference.
5. The “Hollywood” filter. Is there anything more glamorous?
To create this effect, download the Hollywood filter in Adobe Premiere Pro. Add it to your footage and change the presets with these settings:
- Sharpness – 100% (or “Highest”)
- Vignetting Amount – 50% or less depending on how much you want vignette applied. Experiment!
- Hollywood Glow Strength/Intensity – 100%. It should look like a gaudy golden film is overlaying your video now. Adjust accordingly if not desired.
- Color Saturation – 60%. You may need to experiment with different values for what looks best in your project’s context but as a rule of thumb, lower saturation seems more appropriate for quieter scenes while higher values are better suited for urgent moments.
6. The “Green Screen” effect. This effect has a number of different applications and can be a time-saver if you’re working on an effects heavy project.
To create the “Green Screen” effect, duplicate your original footage layer and set it to Multiply mode. This will darken everything except for what is green, so any greenscreen in this layer should contrast well with its background color.
You may want to use some light diffusion or blur effects to disguise where the edges of your bluescreen are (especially if they don’t line up perfectly) but make sure that these adjustments take place after you’ve created the composite image by going back into After Effects – just add them as new layers above your existing work! Experiment with different settings until you find something that looks good both visually and from a tone perspective.
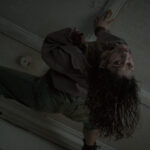
7. Dramatic Grunge. The dramatic grunge effect has been a mainstay in movie poster design for the past twenty years, but it’s also a really powerful tool to have at your disposal when you’re trying to create an image or video that looks like footage from a security camera or even CCTV.
First we want to add some effects and textures so we can get those grungy, distorted edges. We recommend using plugins such as Film Impacts by Video Copilot (available on Adobe Exchange) which has over 150 different pre-sets with everything from scratches and dust particles to film burn – just be sure not to change anything else about the layer while these are applied! For this particular effect I’ll go ahead and use “NTSC Distort” which gives me finer control of how much distortion is applied across various planes of the image, then I’ll add a little more film burn with “Pinch” to give it that worn-in look.
Second, we’re going to use some effects for color correction and contrast enhancement in order to make this scene feel like night time footage from an old security camera. For this particular project I’ve opted for Red Giant’s Magic Bullet Looks because you can achieve really powerful results without ever touching your images – just choose or select the preset you want and click play!
In our example here my first step is adding warmth by selecting an appropriate filter under Warmth – I’m choosing Low Key which also has a minor vignetting effect on top of everything else, so now all three layers have been adjusted accordingly.
There you have it. Our seven Most Highly Recommended Effects for Your Next Film or TV Project.


