
A first music video can feel bigger than the song itself. The track is done, or close enough. You have the chorus in your head. A few friends have told you it needs a video. Then the real problem shows up: money.
Most young artists don’t have a director, a producer, a lighting crew, a stylist, and a rented warehouse waiting around. That’s fine. Plenty of early music videos work because they have taste, timing, and a clear sense of the artist, not because somebody spent rent money on smoke machines.
The point is to make a music video that gives the song a face. It should help someone remember the hook, the mood, and you as an artist.
Making a Music Video Without Spending Much
1. Use the right song version
Use the final master or the closest version you’ve got. A music video depends on timing, and timing gets messy when the audio changes later. Even a slightly different intro length can throw off the whole edit.
Put the final audio file on your phone and bring a small speaker to the shoot. During performance takes, play the song out loud and sing along to it. This gives you better mouth sync later and makes the performance feel less awkward. Silent lip-syncing usually looks stiff, especially for artists recording their first video.
A good beginner setup can be very basic: a phone with a decent camera, a portable speaker, a tripod, one small LED light, tape, a power bank, and two or three outfits that already match the song’s mood. That’s enough to start producing something watchable.
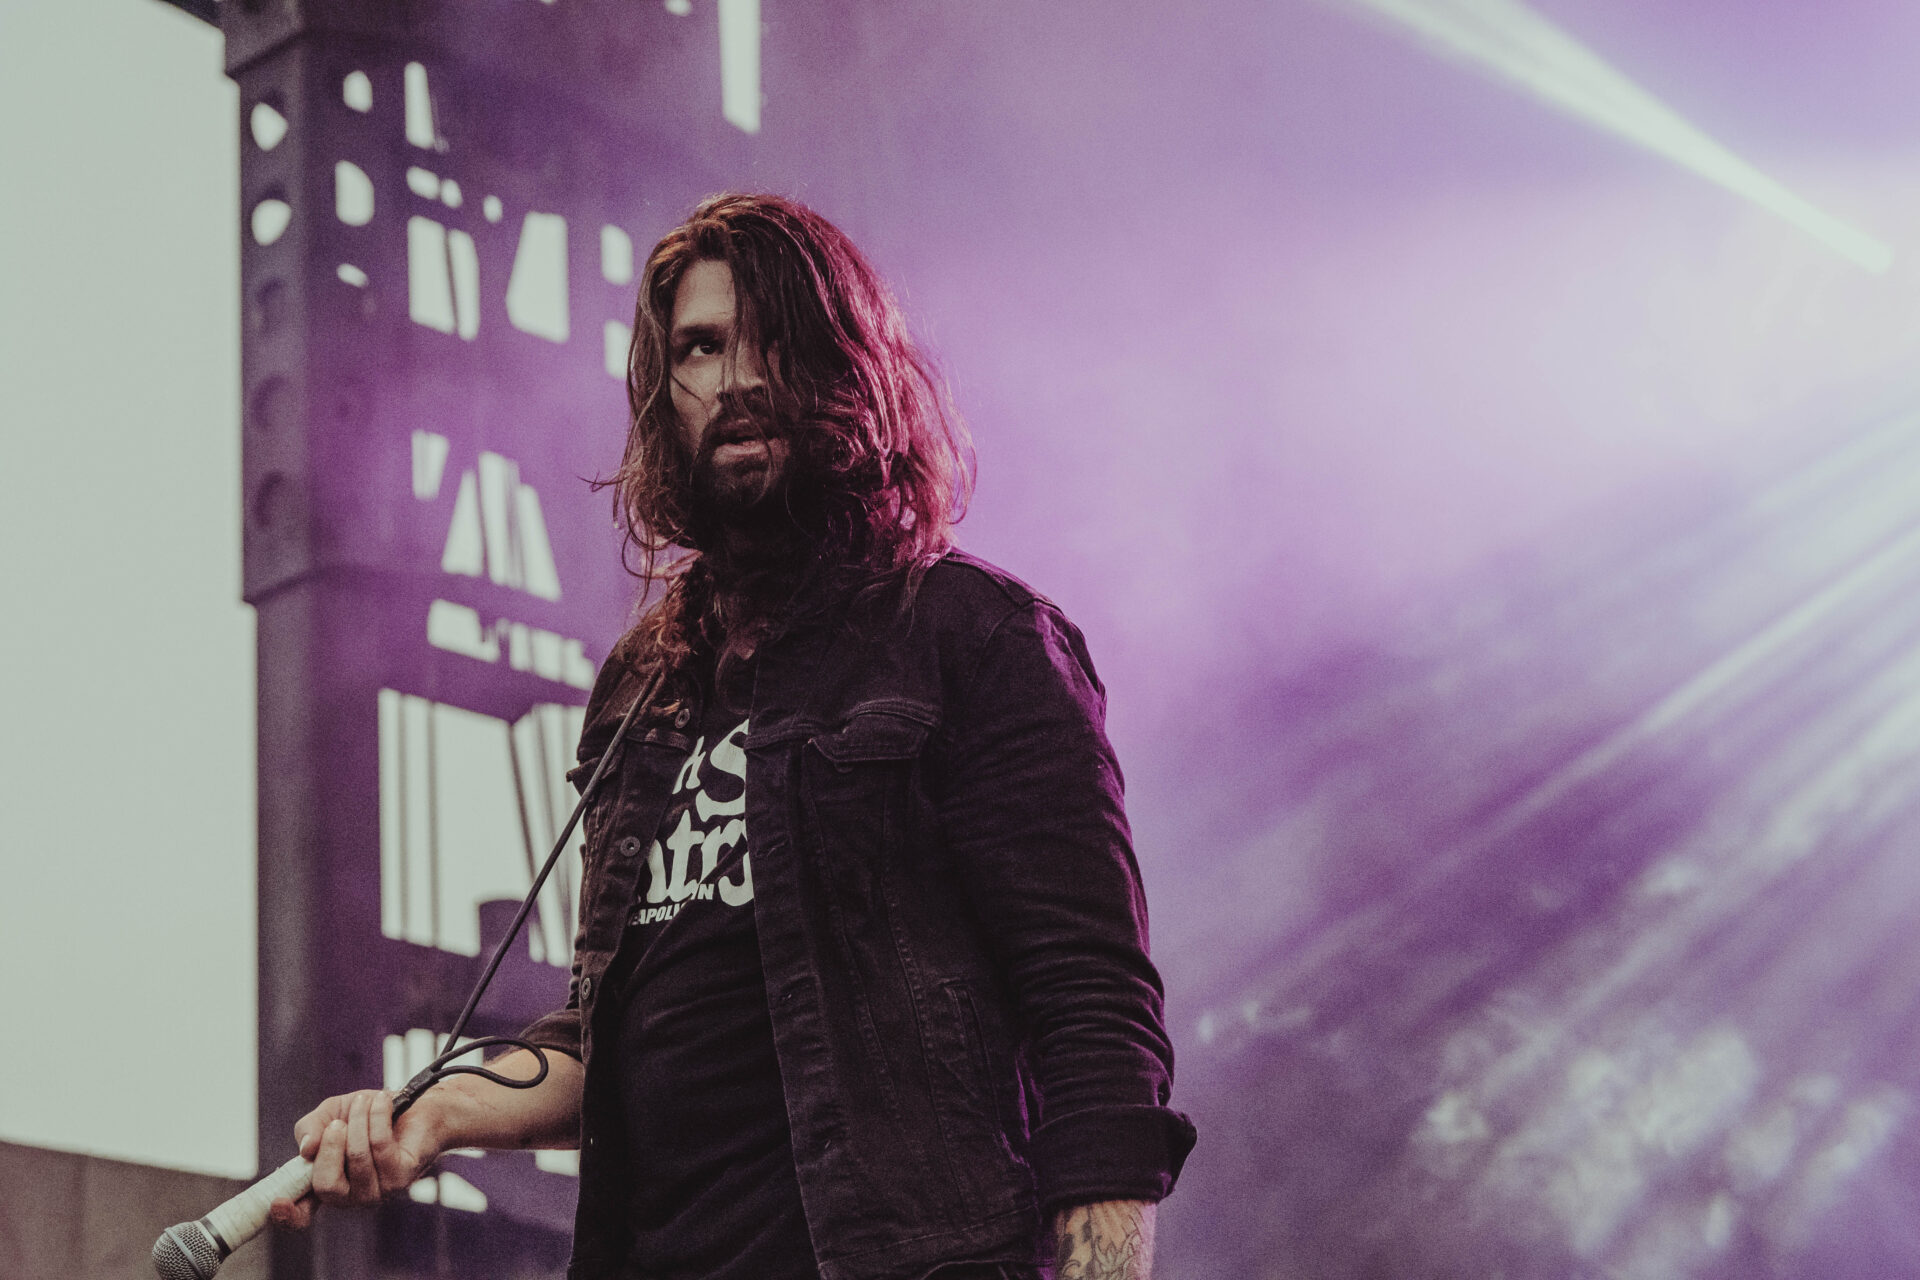
2. Build the video around performance
For a young musician, the safest core is performance. Viewers need to know who is singing, rapping, playing, or fronting the track. A video made entirely of random clips can work for an established artist, but a new artist needs face time.
Plan at least three full performance takes: one steady shot from the front, one closer shot for emotion, and one moving shot with a friend holding the camera or walking beside you.
Do the full song each time. Full takes give you options during the edit. They also protect you when one angle has a weird blink, bad focus, or someone walking through the background at the worst possible moment.
This is one of the simplest ways to make a music video look more finished without adding money. You are filming the same performance in ways that give the edit rhythm.
3. Pick locations with inherent narrative
A low-budget video usually suffers when the location feels empty. Look for spots that fit the track before you think about gear. A diner, rehearsal room, rooftop, basketball court, stairwell, studio corner, or night street can all work when they match the song.
Keep the number of locations low. For a first video, one main performance location and one secondary location for extra shots is enough.
4. Opt for manageable lighting
A phone can shoot decent footage, but it needs light. Bad lighting makes even a good camera look cheap. Natural light is free, so plan around it.
For daytime scenes, shoot near windows or outside during late afternoon. Midday sun can make faces look harsh, especially when the artist is looking up or squinting. For indoor scenes, turn off ugly overhead lights and use lamps, LED strips, or one small video light aimed from the side.
At night, move closer to shop windows, gas stations, car headlights, stage lights, or signs. The camera needs something on the face. A dark background can look cool, but a dark face usually looks like an accident.
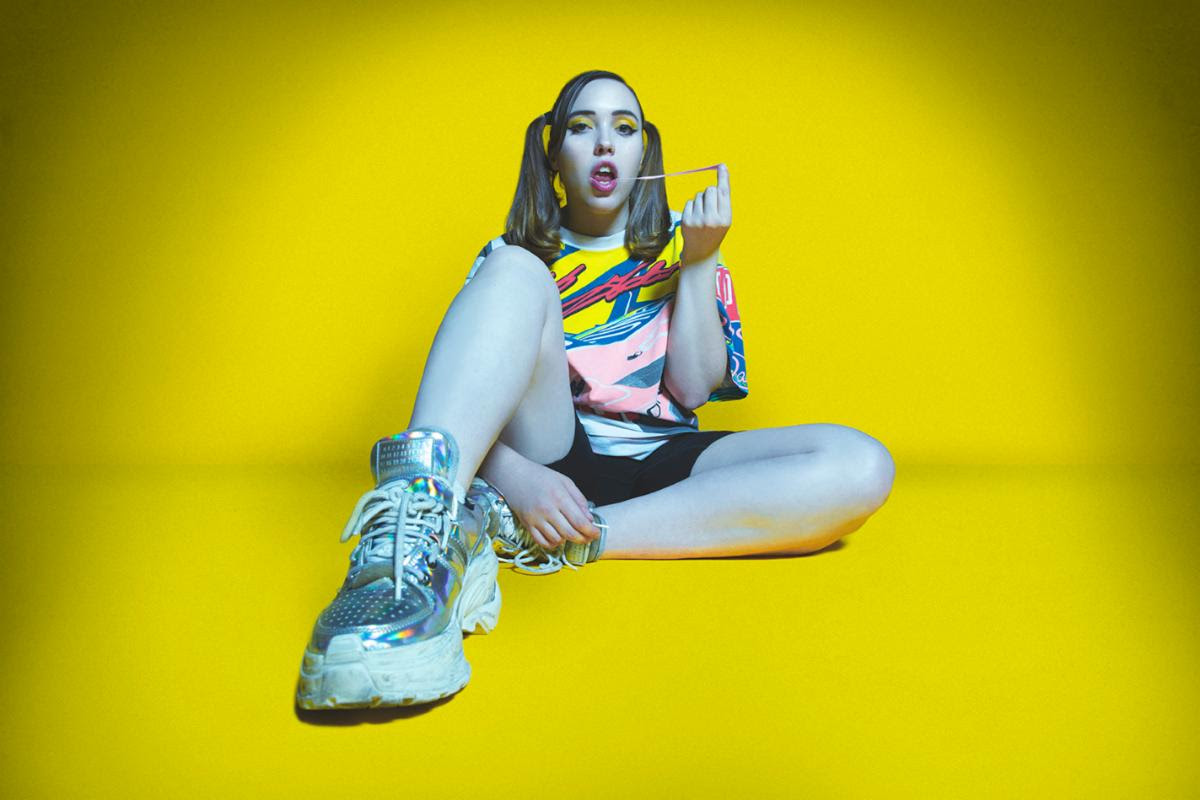
5. Film extra moments with intent
You still need clips outside the performance, but they should relate to the song or the artist. Think of them as small pieces of behavior, not filler.
For a breakup song, that might be hands deleting a message, walking alone after a show, sitting on the edge of a bed, or leaving a jacket behind. For a party track, it might be friends arriving, a speaker turning on, someone tying shoes before going out, or a crowd moving to the hook.
These shots do not need to explain the whole story. They give the editor breathing room between performance angles. They also help the video feel more personal.
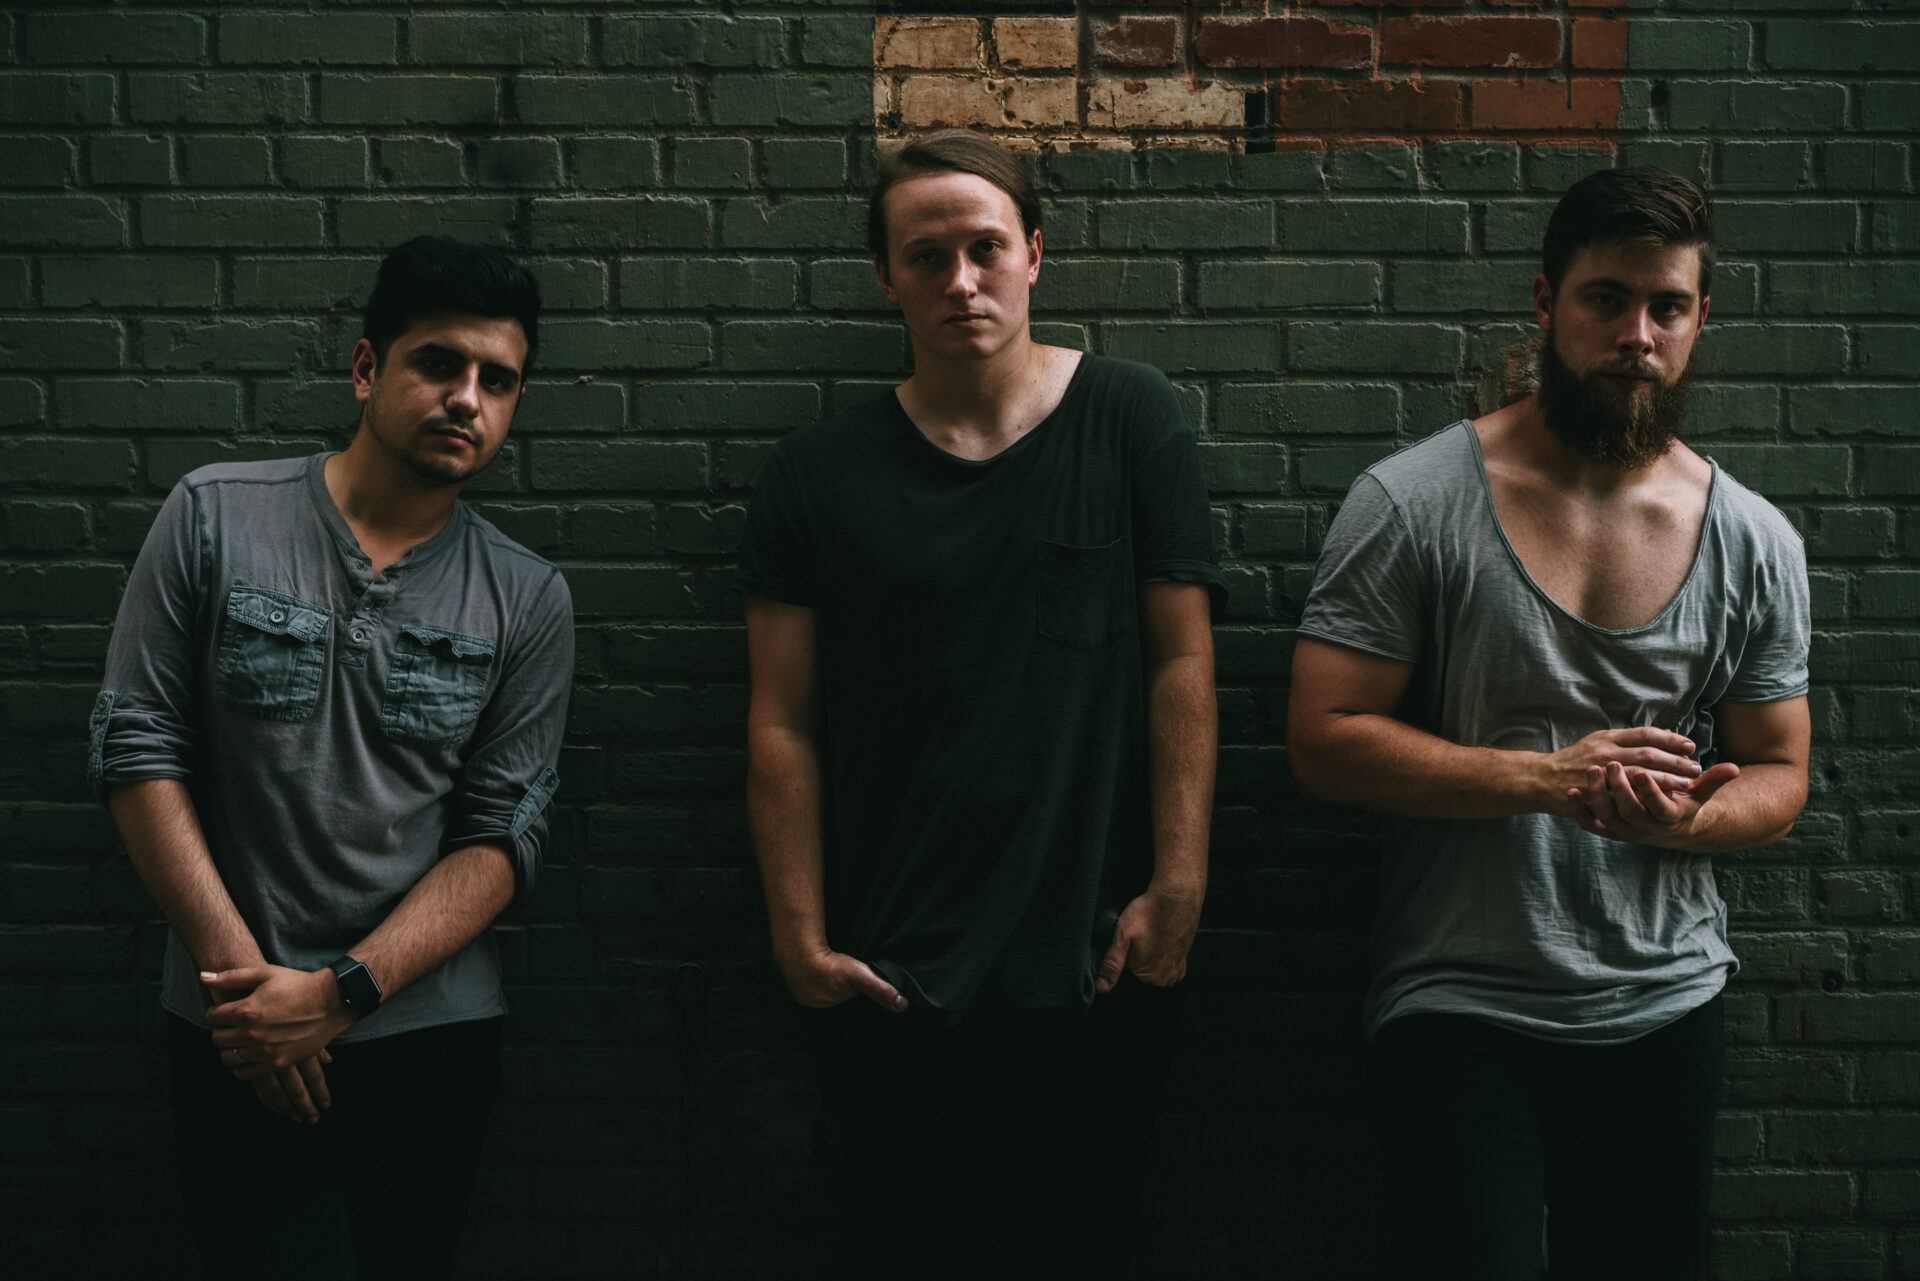
6. Keep the crew small
A first video doesn’t need fifteen people standing around giving opinions. A small group usually works better.
You need the artist, one person filming, one person handling playback and basic setup, and maybe one friend who can help with clothes, props, or backstage recording. More people can help during crowd scenes, but they can slow down focused scenes fast.
Furthermore, if you use AI to make music, you can easily skip all of that. The video can lean more on performance alternatives: animated visuals, lyric-focused edits, abstract footage, or a simple character-style concept. Still, the same rule applies: keep the production manageable and make every shot serve the track.
7. Edit for the song
The edit should follow the song’s movement: a slow intro can hold longer shots, a loud chorus can cut faster, a quiet bridge can move closer to the face.
Tools for beginners like Movavi can fit that job well. Sync video clips to music, cut precisely to the beat, and add ready-made titles and transitions to match the mood. AI effects work well for quick visual ideas, while auto subtitles are useful for lyric snippets, chorus teasers, or short promo clips.
The whole point is to create awesome content easily, especially when you’re making your first video and learning as you go. Start with the full front-facing performance take. Place it under the whole song, then add closer shots over the strongest lines. Add detail shots when the video needs a break from the face. Save your favorite shot for a moment where it actually fits the song.
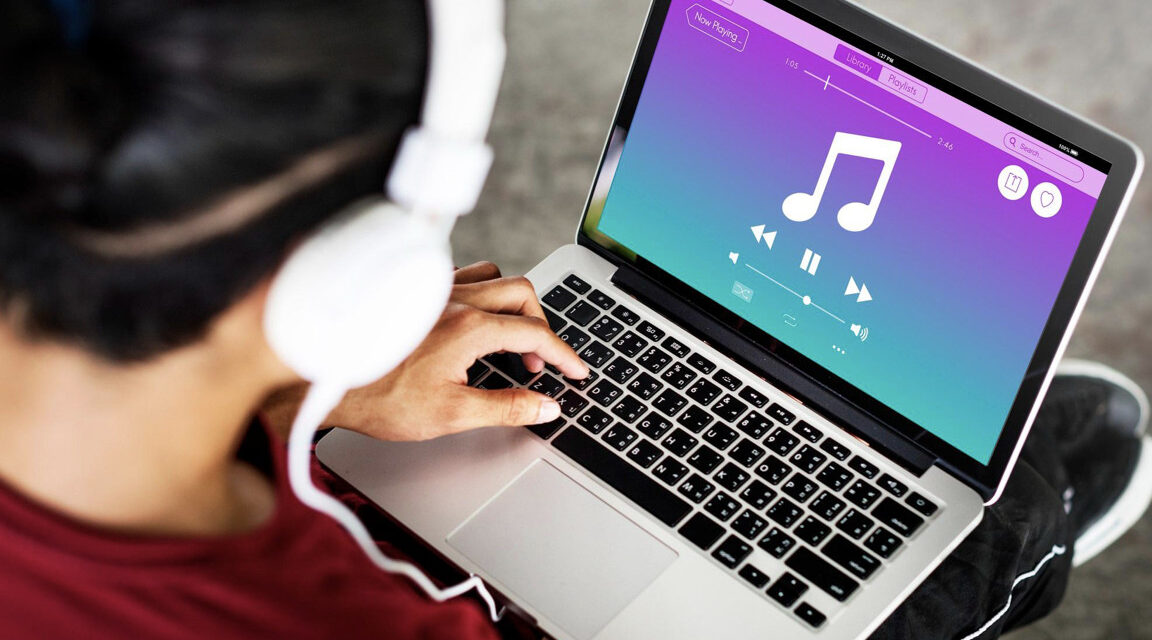
Where to Upload Your Music Video
YouTube should be the home base for the full video. It’s built for horizontal videos, search, playlists, embeds, and long-term discovery. A new listener can find the video months later through the song title, artist name, or related music. Add a clear title with the artist name and song name. Use the description to link the track, social pages, and upcoming shows.
TikTok is not the place to dump the entire video but a nice vertical snippet. Use the hook, a strong lyric, a behind-the-scenes moment, or a direct performance clip. A young artist can post several versions because each one can focus on a different part of the song.
Instagram Reels works well for fans who already follow you or people finding you through shared posts. Use it for vertical performance moments, release countdowns, and short edits that show your face clearly. Pin the strongest Reel during the release window so new visitors see it first.
YouTube Shorts gives the song another vertical lane while keeping everything tied to your YouTube channel. This helps when the full video lives there too. A short clip can send people toward the main upload.
Spotify Canvas is worth using when the track is on Spotify. It’s not a full music video, but a short looping visual can make the song feel more complete in the app. Use a clean moment from the shoot rather than a busy edit.
Final Take
Learning how to make a music video on a budget is mostly about making choices early. Use the final song version. Build the video around performance. Pick locations that already feel right. Film enough full takes. Cut the edit around the track. Then prepare versions for the places where people actually watch music now.
A first video does not have to look expensive. It has to feel connected to the song and to the artist. Start with what you have, keep the shoot manageable, and produce a video that makes someone want to hear the song again.


